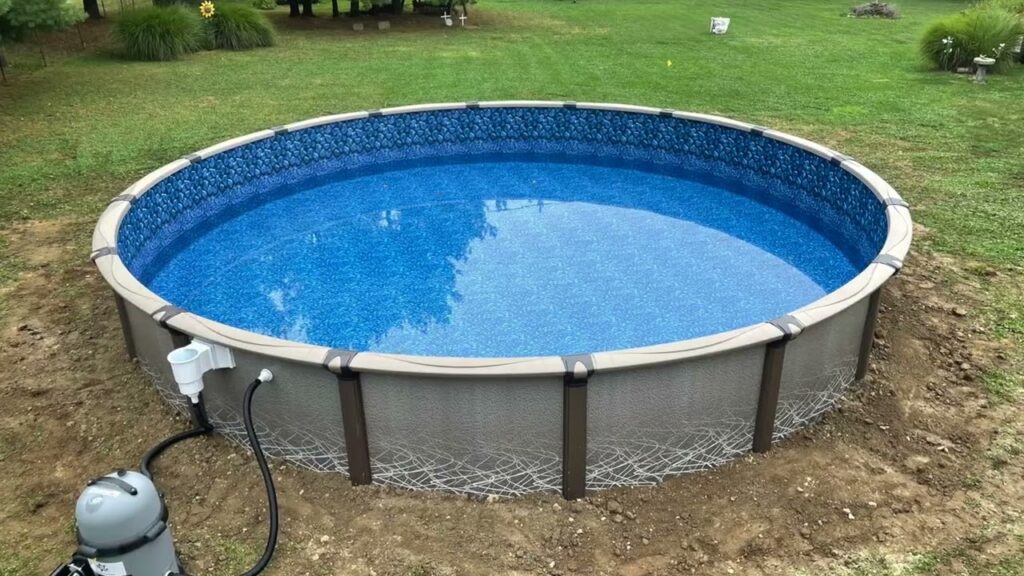
Transforming your backyard into a summer oasis is easier than you think with an above ground pool. Not only do they provide a refreshing retreat from the heat, but they also add an element of fun and relaxation to your outdoor space. In this guide, we’ll walk you through the essential steps of above ground pool installation, ensuring you can dive into crystal-clear waters in no time.
Planning and Preparation
Before you begin the installation process, it’s crucial to select the right location for your pool. Look for a level area that receives plenty of sunlight and is away from trees and shrubs. This will minimize debris in your pool and maximize your enjoyment. Once you’ve chosen the perfect spot, clear the area of any rocks, roots, or debris that could damage the pool liner.
Choosing the Right Pool
Above ground pools come in various sizes, shapes, and materials. Consider the size of your backyard and the number of people who will be using the pool when making your selection. Round pools are great for families, while oval pools offer more room for swimming laps. Steel, resin, and aluminum are popular material choices, each with its own benefits in terms of durability and maintenance.
Laying the Foundation
A solid foundation is key to the longevity of your above ground pool. Start by leveling the ground where your pool will sit. Use a leveler to ensure the surface is flat, and then add a layer of sand to create a smooth base. This will protect the liner and prevent punctures.
Assembling the Pool
With the foundation set, it’s time to assemble the pool. Follow the manufacturer’s instructions carefully. Begin by laying out the bottom rails and connecting them to form the pool’s perimeter. Then, install the uprights and pool walls, securing them as you go. It’s helpful to have a few extra hands during this step to keep the walls steady.
Installing the Liner
The liner is what holds the water in your pool, so it’s important to install it correctly. Drape the liner over the pool walls and gently smooth out any wrinkles, starting from the center and working your way out. Once the liner is in place, you can start filling your pool with water, which will further secure the liner.
Adding the Finishing Touches
As the pool fills, you can begin installing the top rails and caps, which will add stability and a finished look to your pool. Once the pool is filled, you’ll need to set up the pump and filter system. This equipment is essential for keeping your pool water clean and clear.
Maintenance and Enjoyment
With your above ground pool installed, it’s important to maintain it properly. Regularly test the water chemistry, vacuum the bottom, and skim the surface to keep your pool inviting. And most importantly, enjoy the fruits of your labor! Whether you’re hosting a pool party or enjoying a quiet swim, your above ground pool is sure to be the highlight of your summer.
Installing an above ground pool is a rewarding project that provides endless hours of enjoyment. By following these steps, you’ll ensure a successful installation and a summer filled with fun and relaxation. Dive in and enjoy your new backyard retreat!
